

Get models like Phi-2, Mistral, and LLaVA running locally on a Raspberry Pi with Ollama

Ever thought of running your own large language models (LLMs) or vision language models (VLMs) on your own device? You probably did, but the thoughts of setting things up from scratch, having to manage the environment, downloading the right model weights, and the lingering doubt of whether your device can even handle the model has probably given you some pause.
Let’s go one step further than that. Imagine operating your own LLM or VLM on a device no larger than a credit card — a Raspberry Pi. Impossible? Not at all. I mean, I’m writing this post after all, so it definitely is possible.
Possible, yes. But why would you even do it?
LLMs at the edge seem quite far-fetched at this point in time. But this particular niche use case should mature over time, and we will definitely see some cool edge solutions being deployed with an all-local generative AI solution running on-device at the edge.
It’s also about pushing the limits to see what’s possible. If it can be done at this extreme end of the compute scale, then it can be done at any level in between a Raspberry Pi and a big and powerful server GPU.
Traditionally, edge AI has been closely linked with computer vision. Exploring the deployment of LLMs and VLMs at the edge adds an exciting dimension to this field that is just emerging.
Most importantly, I just wanted to do something fun with my recently acquired Raspberry Pi 5.
So, how do we achieve all this on a Raspberry Pi? Using Ollama!
What is Ollama?
Ollama has emerged as one of the best solutions for running local LLMs on your own personal computer without having to deal with the hassle of setting things up from scratch. With just a few commands, everything can be set up without any issues. Everything is self-contained and works wonderfully in my experience across several devices and models. It even exposes a REST API for model inference, so you can leave it running on the Raspberry Pi and call it from your other applications and devices if you want to.
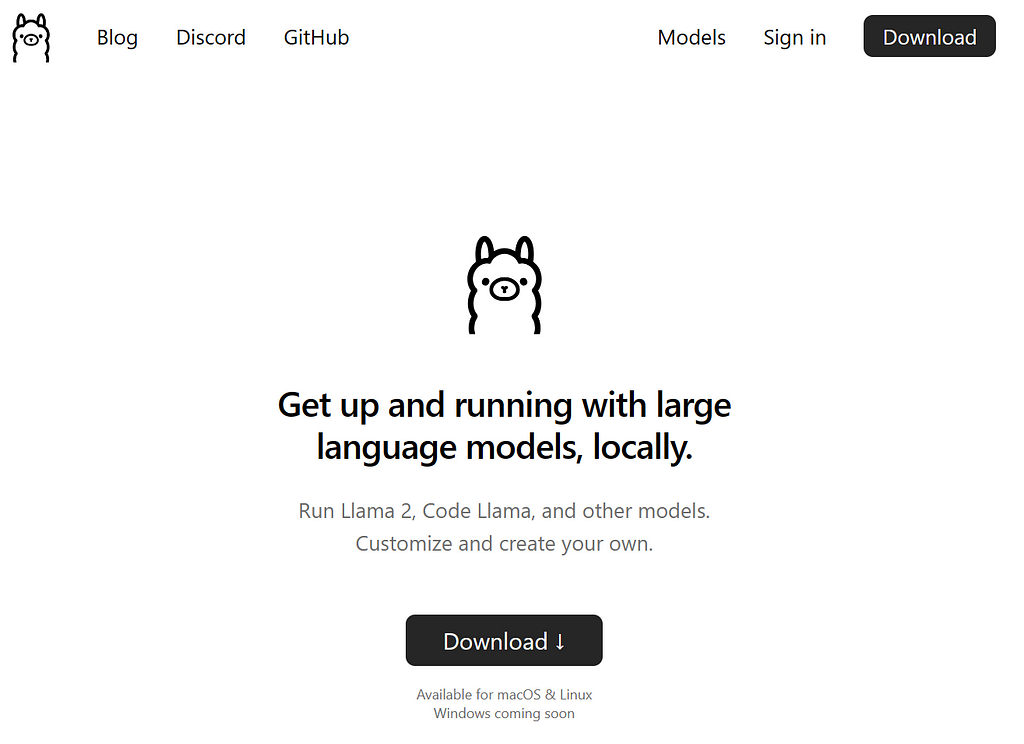
There’s also Ollama Web UI which is a beautiful piece of AI UI/UX that runs seamlessly with Ollama for those apprehensive about command-line interfaces. It’s basically a local ChatGPT interface, if you will.
Together, these two pieces of open-source software provide what I feel is the best locally hosted LLM experience right now.
Both Ollama and Ollama Web UI support VLMs like LLaVA too, which opens up even more doors for this edge Generative AI use case.
Technical Requirements
All you need is the following:
- Raspberry Pi 5 (or 4 for a less speedy setup) — Opt for the 8GB RAM variant to fit the 7B models.
- SD Card — Minimally 16GB, the larger the size the more models you can fit. Have it already loaded with an appropriate OS such as Raspbian Bookworm or Ubuntu
- An internet connection
Like I mentioned earlier, running Ollama on a Raspberry Pi is already near the extreme end of the hardware spectrum. Essentially, any device more powerful than a Raspberry Pi, provided it runs a Linux distribution and has a similar memory capacity, should theoretically be capable of running Ollama and the models discussed in this post.
1. Installing Ollama
To install Ollama on a Raspberry Pi, we’ll avoid using Docker to conserve resources.
In the terminal, run
curl https://ollama.ai/install.sh | sh
You should see something similar to the image below after running the command above.
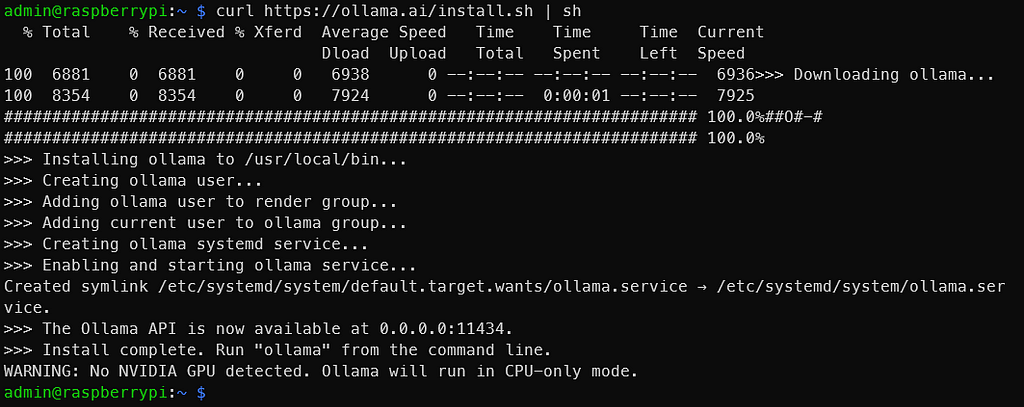
Like the output says, go to 0.0.0.0:11434 to verify that Ollama is running. It is normal to see the ‘WARNING: No NVIDIA GPU detected. Ollama will run in CPU-only mode.’ since we are using a Raspberry Pi. But if you’re following these instructions on something that is supposed to have a NVIDIA GPU, something did not go right.
For any issues or updates, refer to the Ollama GitHub repository.
2. Running LLMs through the command line
Take a look at the official Ollama model library for a list of models that can be run using Ollama. On an 8GB Raspberry Pi, models larger than 7B won’t fit. Let’s use Phi-2, a 2.7B LLM from Microsoft, now under MIT license.
We’ll use the default Phi-2 model, but feel free to use any of the other tags found here. Take a look at the model page for Phi-2 to see how you can interact with it.
In the terminal, run
ollama run phi
Once you see something similar to the output below, you already have a LLM running on the Raspberry Pi! It’s that simple.
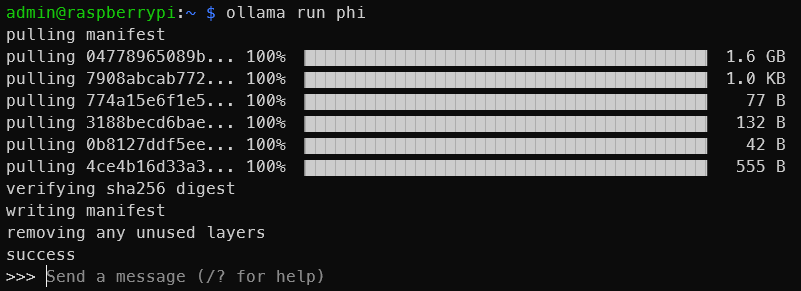

You can try other models like Mistral, Llama-2, etc, just make sure there is enough space on the SD card for the model weights.
Naturally, the bigger the model, the slower the output would be. On Phi-2 2.7B, I can get around 4 tokens per second. But with a Mistral 7B, the generation speed goes down to around 2 tokens per second. A token is roughly equivalent to a single word.
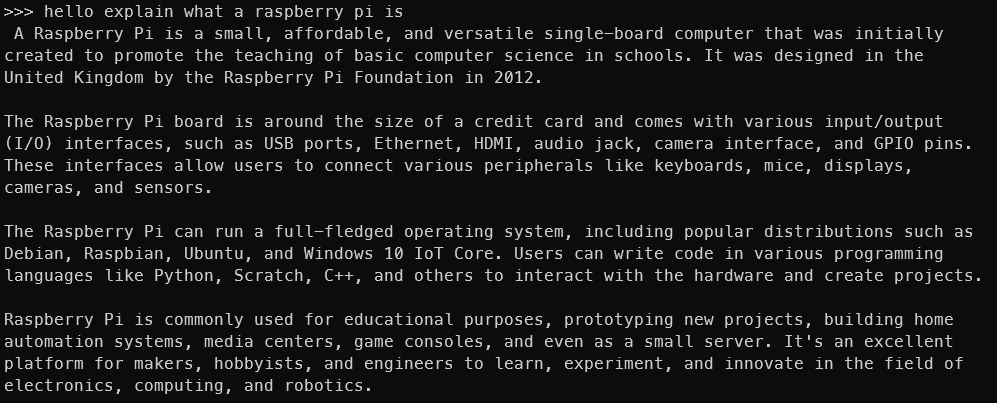
Now we have LLMs running on the Raspberry Pi, but we are not done yet. The terminal isn’t for everyone. Let’s get Ollama Web UI running as well!
3. Installing and Running Ollama Web UI
We shall follow the instructions on the official Ollama Web UI GitHub Repository to install it without Docker. It recommends minimally Node.js to be >= 20.10 so we shall follow that. It also recommends Python to be at least 3.11, but Raspbian OS already has that installed for us.
We have to install Node.js first. In the terminal, run
curl -fsSL https://deb.nodesource.com/setup_20.x | sudo -E bash - &&
sudo apt-get install -y nodejs
Change the 20.x to a more appropriate version if need be for future readers.
Then run the code block below.
git clone https://github.com/ollama-webui/ollama-webui.git
cd ollama-webui/

# Copying required .env file
cp -RPp example.env .env

# Building Frontend Using Node
npm i
npm run build

# Serving Frontend with the Backend
cd ./backend
pip install -r requirements.txt --break-system-packages
sh start.sh
It’s a slight modification of what is provided on GitHub. Do take note that for simplicity and brevity we are not following best practices like using virtual environments and we are using the — break-system-packages flag. If you encounter an error like uvicorn not being found, restart the terminal session.
If all goes correctly, you should be able to access Ollama Web UI on port 8080 through http://0.0.0.0:8080 on the Raspberry Pi, or through http://<Raspberry Pi’s local address>:8080/ if you are accessing through another device on the same network.

Once you’ve created an account and logged in, you should see something similar to the image below.
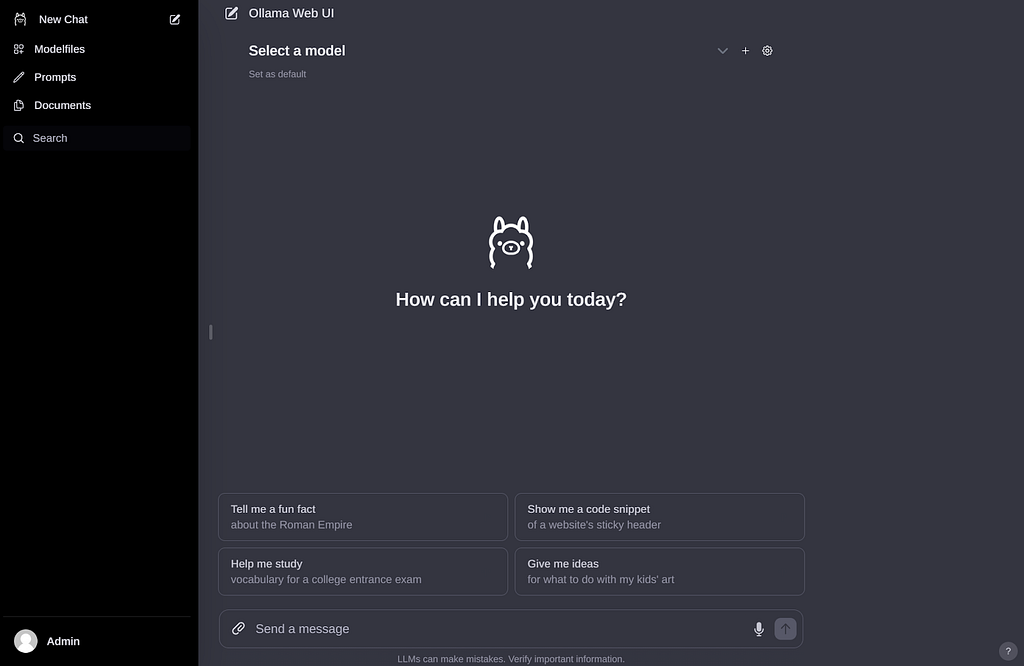
If you had downloaded some model weights earlier, you should see them in the dropdown menu like below. If not, you can go to the settings to download a model.


The entire interface is very clean and intuitive, so I won’t explain much about it. It’s truly a very well-done open-source project.

4. Running VLMs through Ollama Web UI
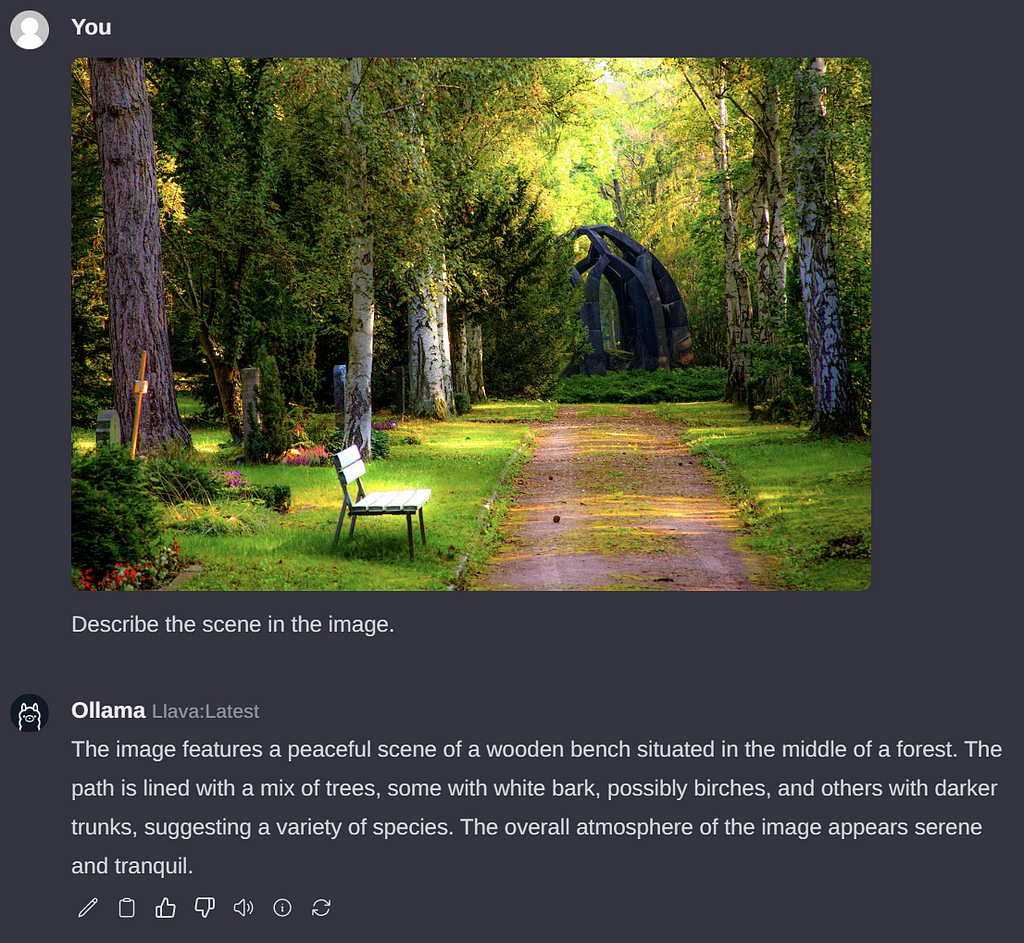
Like I mentioned at the start of this article, we can also run VLMs. Let’s run LLaVA, a popular open source VLM which also happens to be supported by Ollama. To do so, download the weights by pulling ‘llava’ through the interface.
Unfortunately, unlike LLMs, it takes quite some time for the setup to interpret the image on the Raspberry Pi. The example below took around 6 minutes to be processed. The bulk of the time is probably because the image side of things is not properly optimised yet, but this will definitely change in the future. The token generation speed is around 2 tokens/second.
To wrap it all up
At this point we are pretty much done with the goals of this article. To recap, we’ve managed to use Ollama and Ollama Web UI to run LLMs and VLMs like Phi-2, Mistral, and LLaVA on the Raspberry Pi.
I can definitely imagine quite a few use cases for locally hosted LLMs running on the Raspberry Pi (or another other small edge device), especially since 4 tokens/second does seem like an acceptable speed with streaming for some use cases if we are going for models around the size of Phi-2.
The field of ‘small’ LLMs and VLMs, somewhat paradoxically named given their ‘large’ designation, is an active area of research with quite a few model releases recently. Hopefully this emerging trend continues, and more efficient and compact models continue to get released! Definitely something to keep an eye on in the coming months.
Disclaimer: I have no affiliation with Ollama or Ollama Web UI. All views and opinions are my own and do not represent any organisation.
Running Local LLMs and VLMs on the Raspberry Pi was originally published in Towards Data Science on Medium, where people are continuing the conversation by highlighting and responding to this story.
Originally appeared here:
Running Local LLMs and VLMs on the Raspberry Pi
Go Here to Read this Fast! Running Local LLMs and VLMs on the Raspberry Pi


